Set Up MLflow Server
Need help with this setup? Try MLflow Assistant - a powerful AI assistant that understands your codebase and can set up MLflow for you.
MLflow is open source, and you can set up the MLflow server using either pip or docker.
Before you can leverage MLflow for your LLM application and AI agent development, you must first start the MLflow server.
- Local (uv)
- Local (pip)
- Local (docker)
Install the Python package manager uv
(that will also install uvx command to invoke Python tools without installing them).
Start a MLflow server locally.
uvx mlflow server
See Secure Installs to learn how to pin dependencies to known good versions using hash checking and upload-time filtering.
Python Environment: Python 3.10+
Install the mlflow Python package via pip and start a MLflow server locally.
pip install --upgrade mlflow
mlflow server
See Secure Installs to learn how to pin dependencies to known good versions using hash checking and upload-time filtering.
MLflow provides a Docker Compose file to start a local MLflow server with a PostgreSQL database and a MinIO server.
git clone --depth 1 --filter=blob:none --sparse https://github.com/mlflow/mlflow.git
cd mlflow
git sparse-checkout set docker-compose
cd docker-compose
cp .env.dev.example .env
docker compose up -d
Refer to the instruction for more details (e.g., overriding the default environment variables).
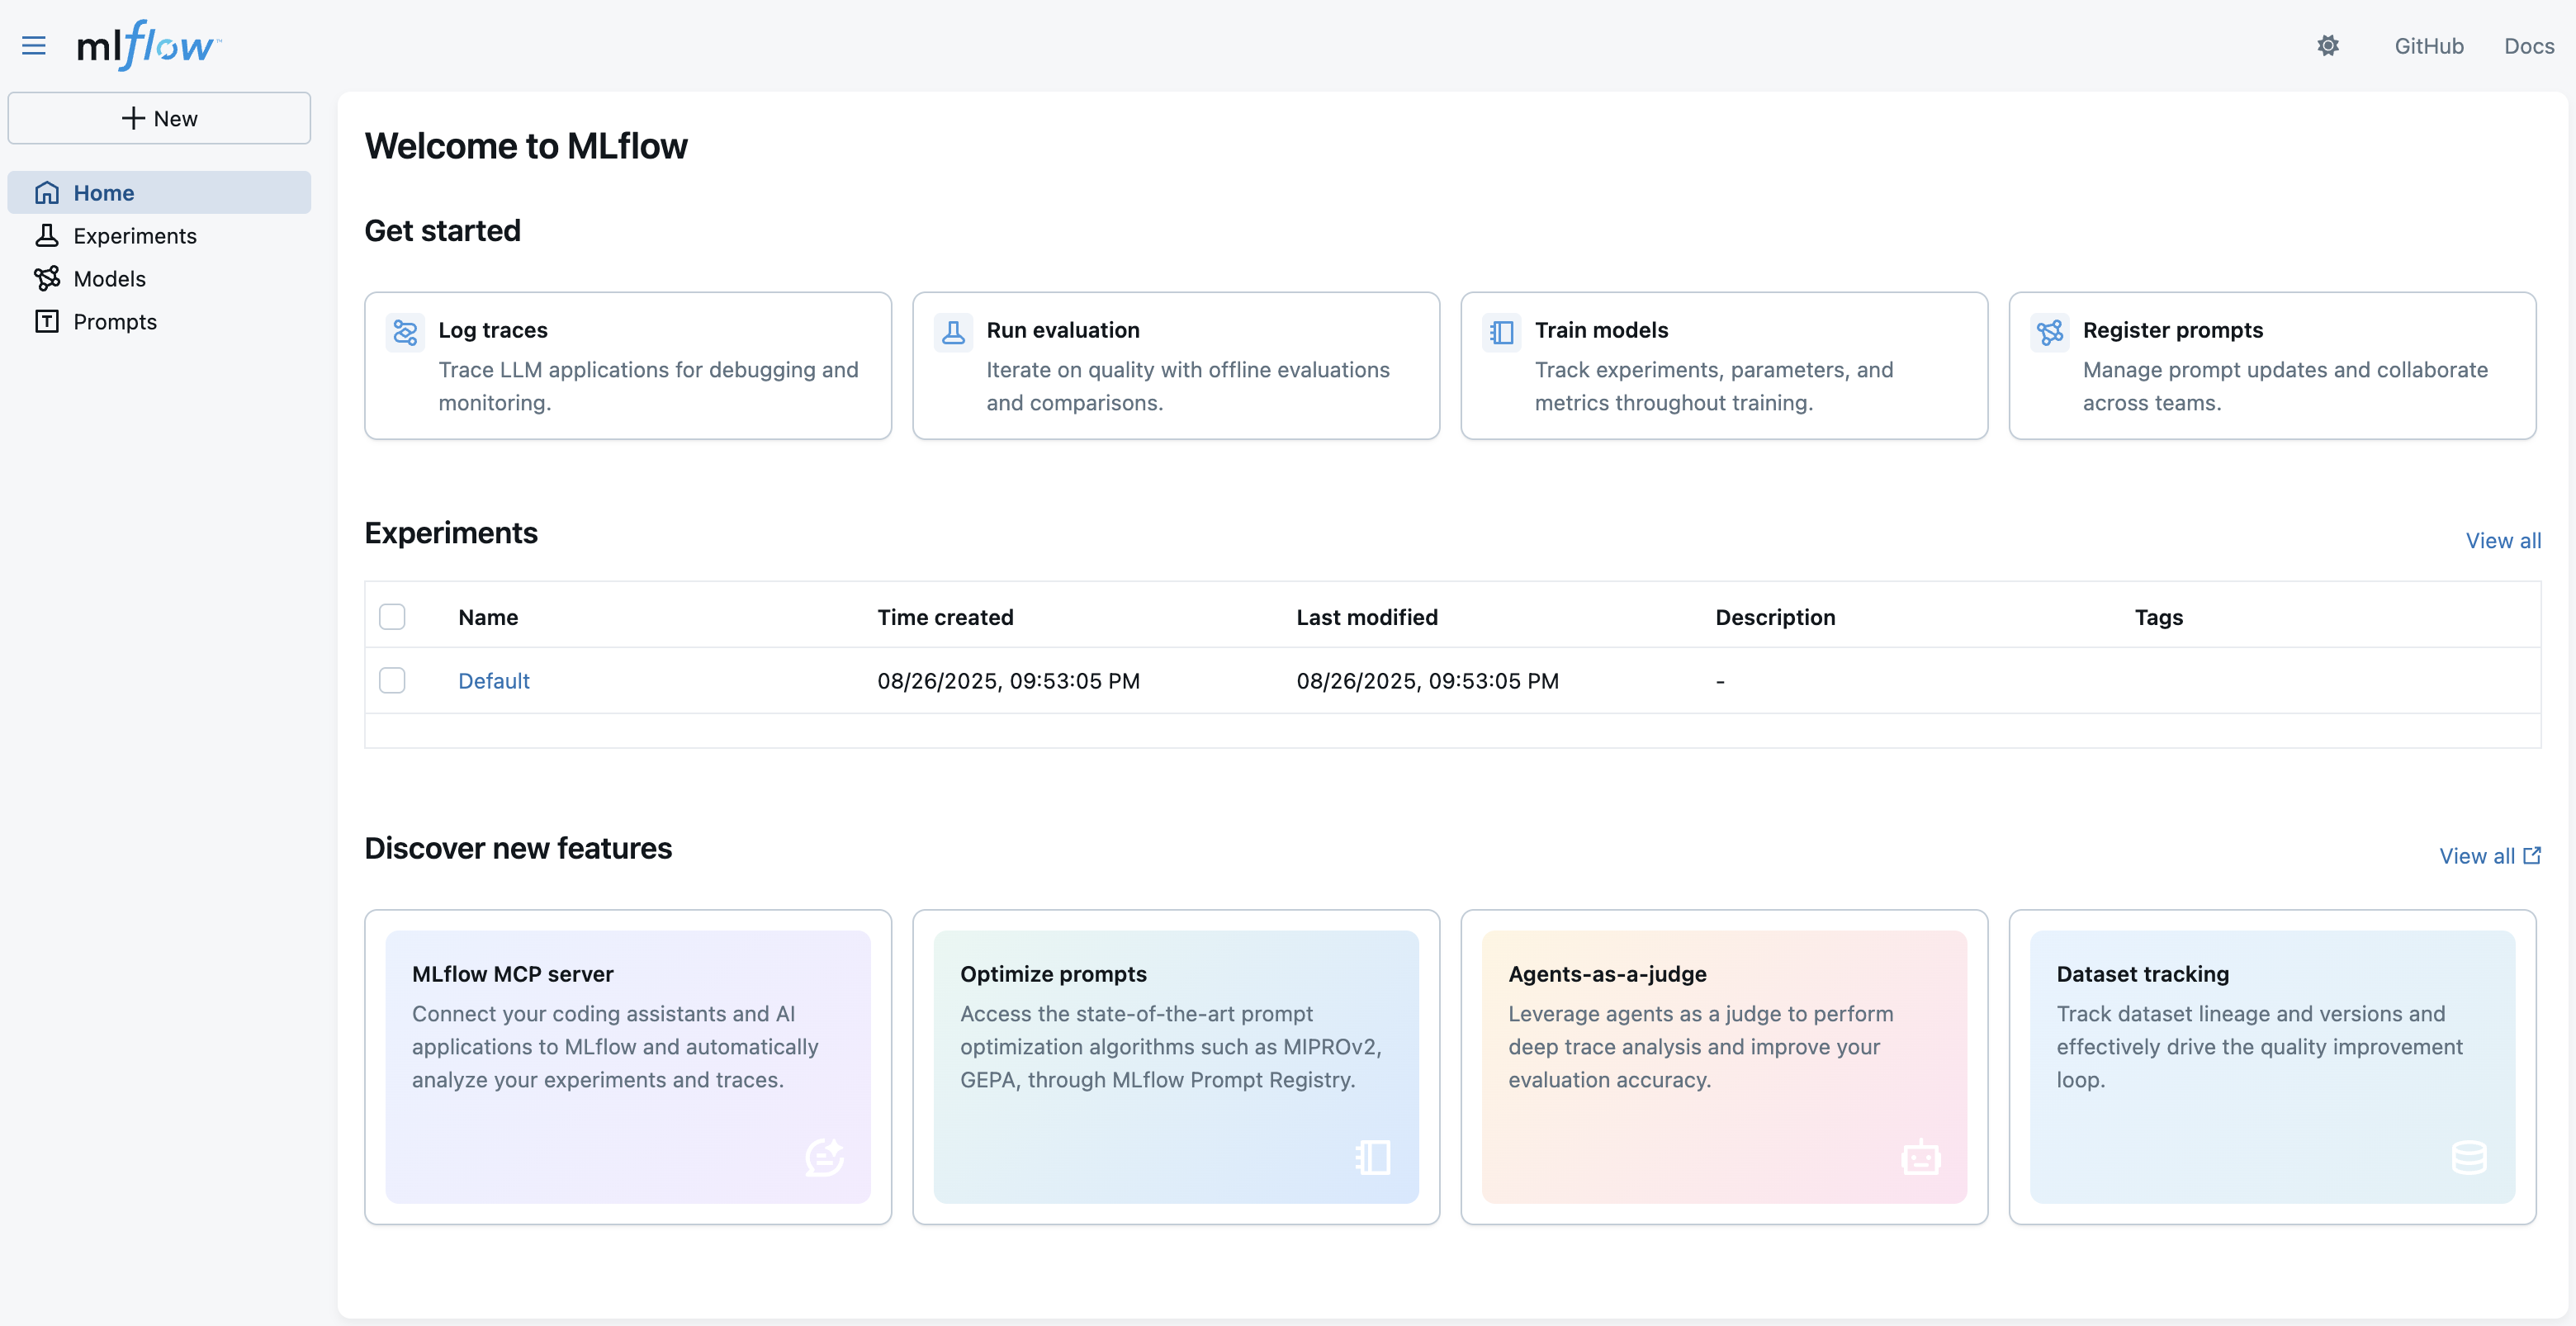
This will start the server at port 5000 on your local machine and you can access the MLflow web UI at http://localhost:5000.
If you are looking for more guidance about self-hosting the MLflow server, please see the Self-Hosting Guide for more details.
If you are using MLflow on Databricks, please visit this for environment setup instructions specific to Databricks.
Next Step
Now that you have started the MLflow server, let's start tracing your LLM application or AI agent.
Follow this quickstart to send your LLM application or AI agent traces to the MLflow server.