AI Gateway Quickstart
Get your AI Gateway running in minutes with this simple walkthrough.
Step 1: Install and Start MLflow
Install MLflow with the required dependencies and start the server:
pip install 'mlflow[genai]'
mlflow server --port 5000
The AI Gateway is built into the MLflow Tracking Server and will be ready at http://localhost:5000.
The AI Gateway requires a SQL-based backend store (SQLite, PostgreSQL, MySQL, or MSSQL) and the FastAPI tracking server. By default, mlflow server uses SQLite and FastAPI, so no additional configuration is needed for this quickstart.
Step 2: Create Your First API Key
Navigate to http://localhost:5000/#/gateway and click on the API Keys tab.
- Click Create API Key
- Enter a name (e.g.,
my-openai-key) - Select your provider (e.g., OpenAI)
- Enter your API key from the provider
- Click Create
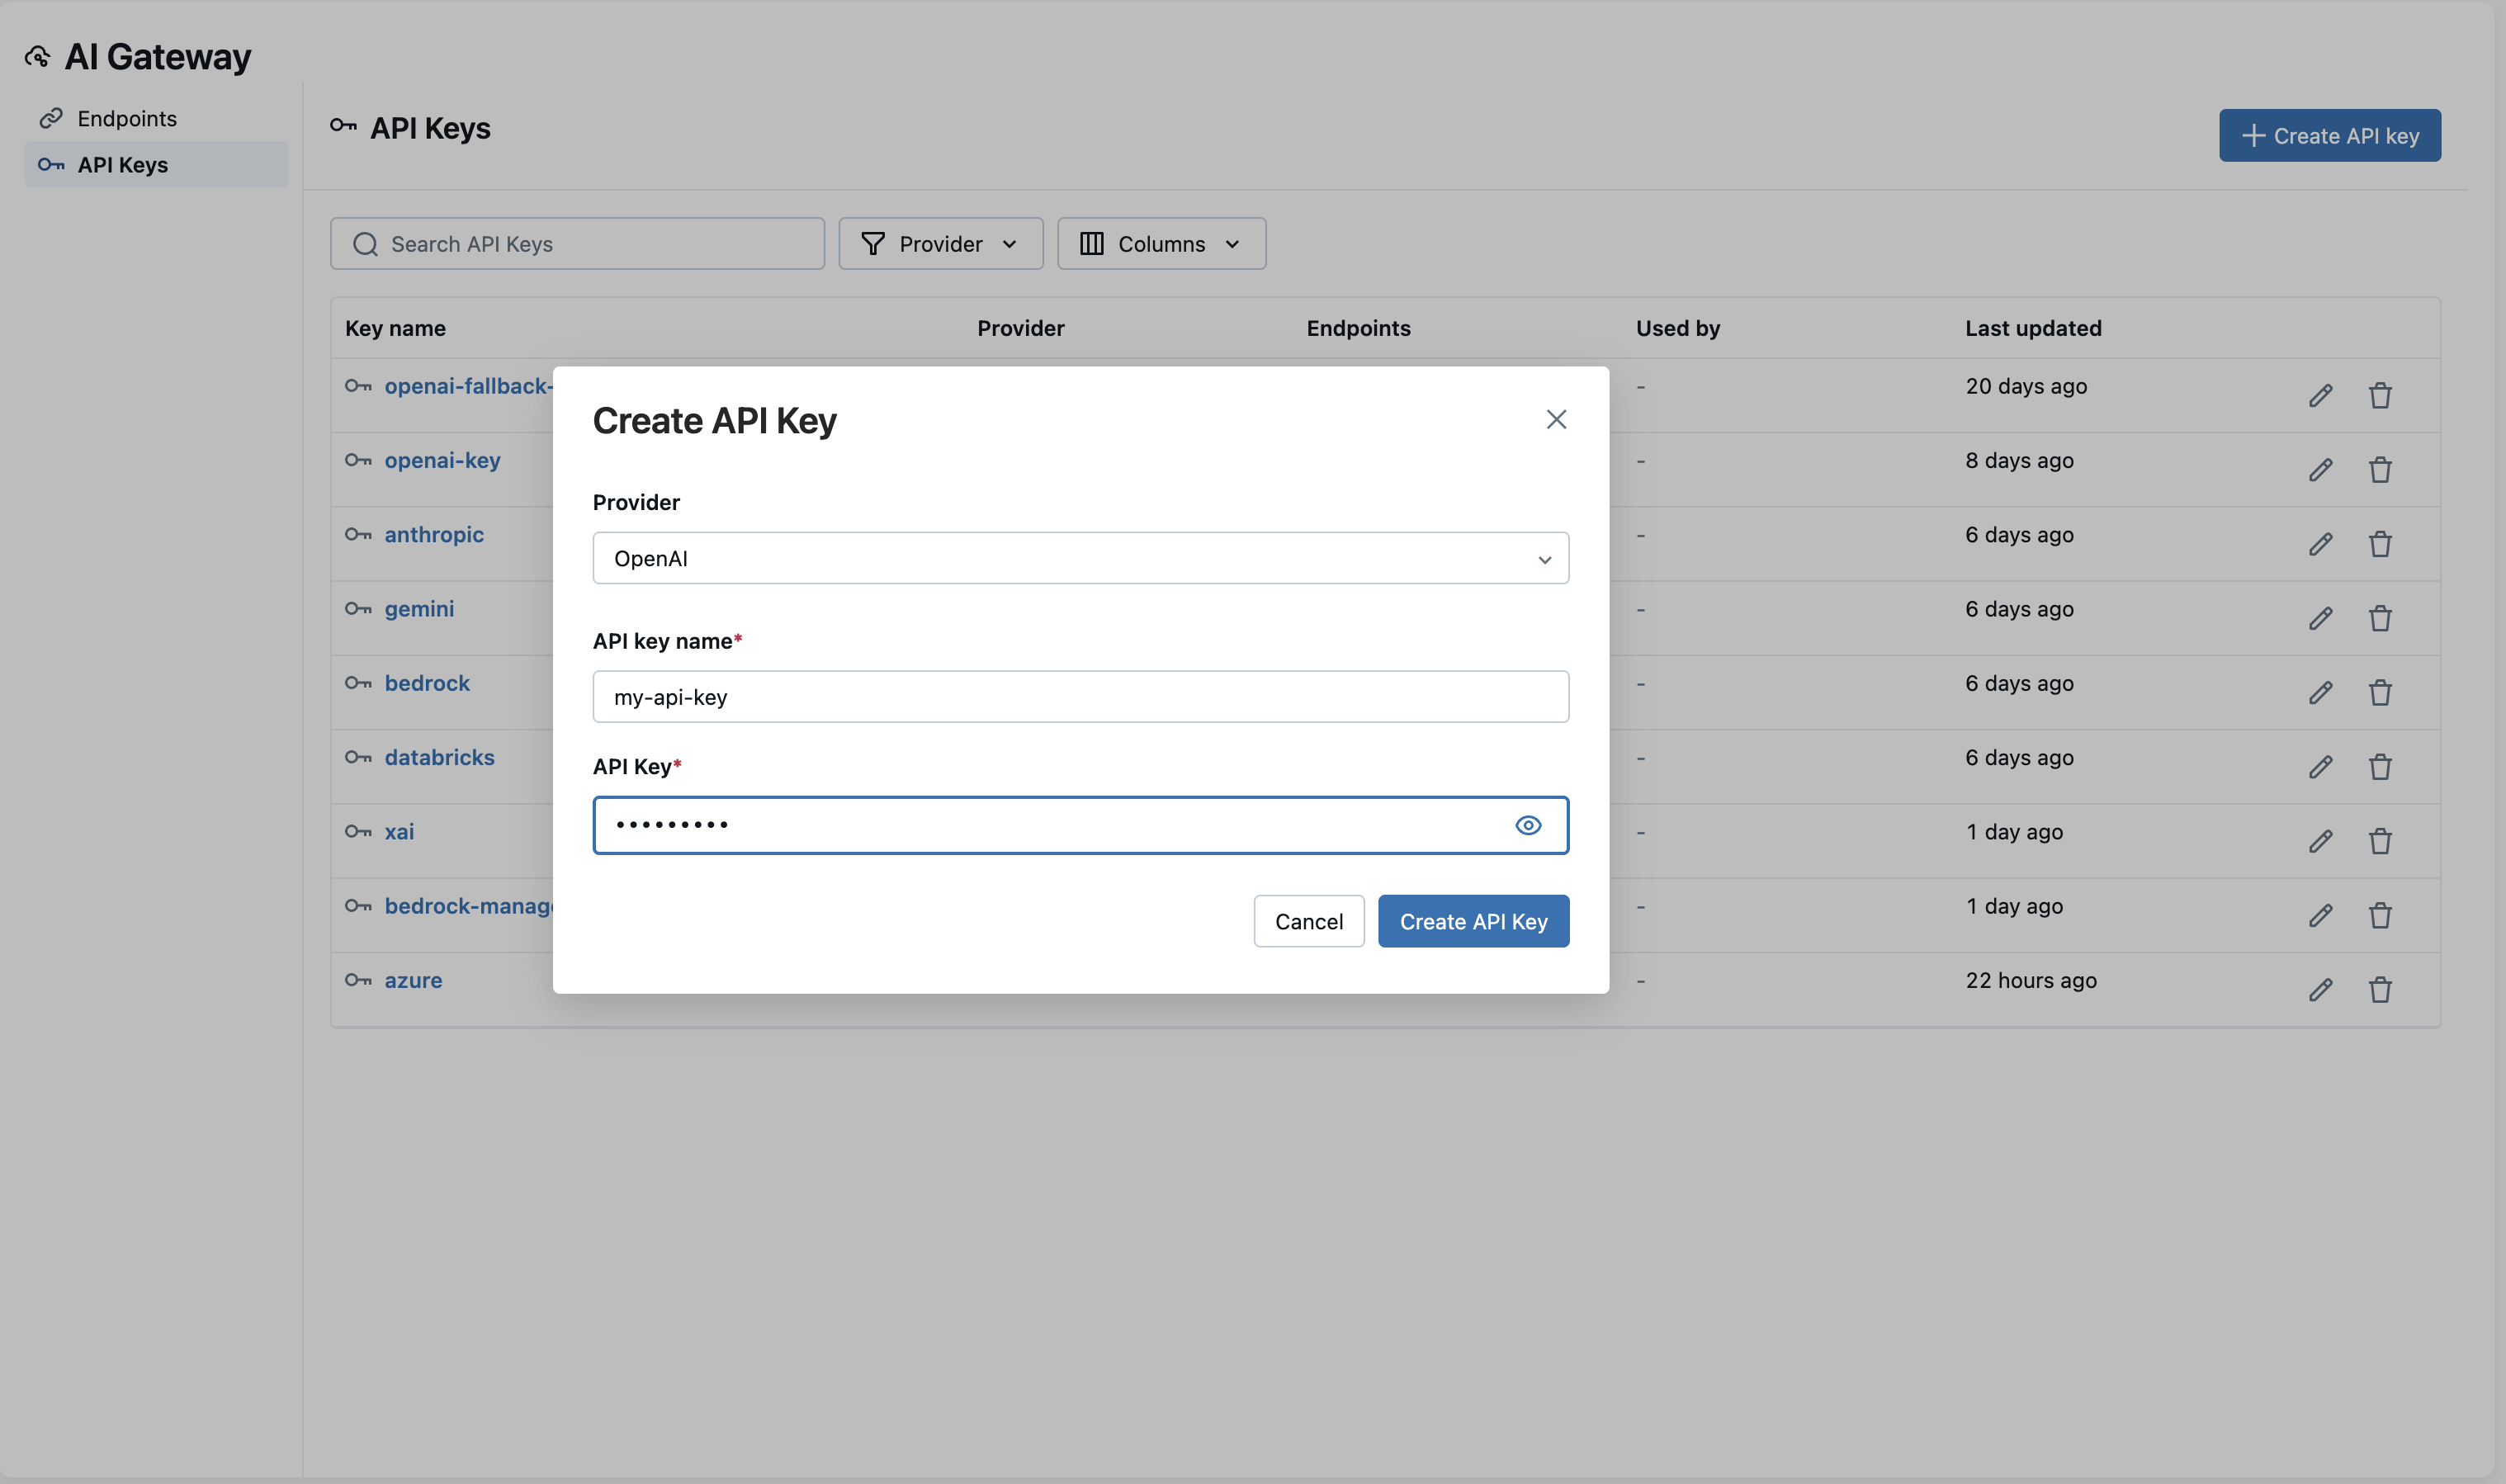
Your API key is now securely stored and encrypted.
Step 3: Create Your First Endpoint
Switch to the Endpoints tab and click Create Endpoint.
- Enter an endpoint name (e.g.,
my-chat-endpoint) - Select your provider (e.g., OpenAI)
- Choose a model (e.g.,
gpt-4o) - Select your API key from the dropdown (the one you just created)
- Click Create Endpoint
Step 4: Query Your Endpoint
Test your endpoint with a simple request:
- cURL
- Python
- OpenAI SDK
curl -X POST http://localhost:5000/gateway/my-chat-endpoint/mlflow/invocations \
  -H "Content-Type: application/json" \
  -d '{
    "messages": [{"role": "user", "content": "Hello!"}]
  }'
import requests

response = requests.post(
    "http://localhost:5000/gateway/my-chat-endpoint/mlflow/invocations",
    json={"messages": [{"role": "user", "content": "Hello!"}]},
)
print(response.json())
from openai import OpenAI

client = OpenAI(
    base_url="http://localhost:5000/gateway/mlflow/v1",
    api_key="",  # Not needed - API key is configured server-side
)

response = client.chat.completions.create(
    model="my-chat-endpoint",
    messages=[{"role": "user", "content": "Hello!"}],
)
print(response.choices[0].message.content)
You should receive a response from your configured model.
Next Steps
Now that you have a working gateway, explore these features: