Custom Trace Views
A custom trace view is a layout for the trace viewer that you describe in plain language and the MLflow AI Assistant builds for you. Instead of walking the span tree, you can lay out the fields you care about: the user's question next to the final answer, the output of each tool call, a row of latency and token tiles, or a short rating form for reviewers.
Views are saved on the experiment, so everyone who opens a trace in that experiment can pick the same view.
Custom trace views are available in MLflow 3.16.0 and above. They are built by the MLflow AI Assistant, so set up the Assistant before creating your first view.
Creating a View
-
Open a trace from the Traces tab of your experiment.
-
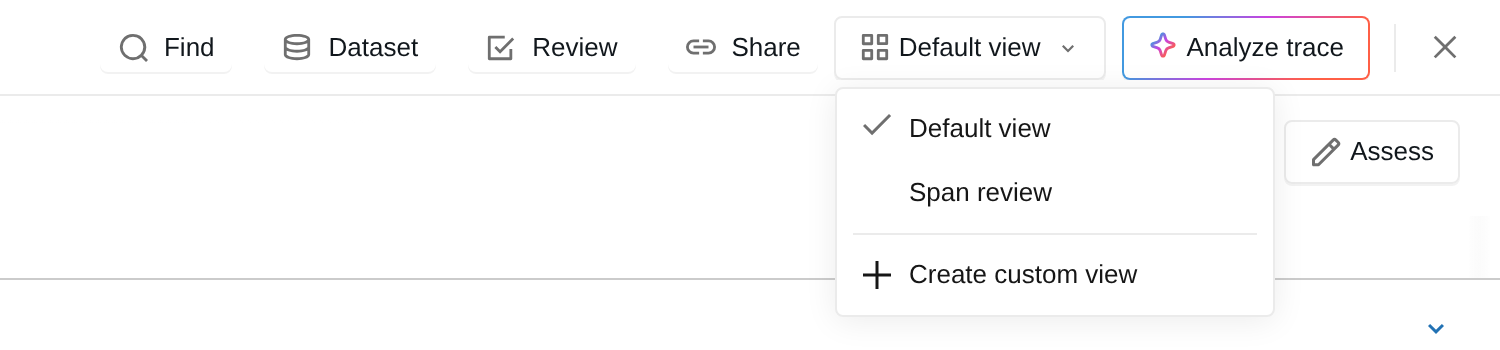
In the header of the trace viewer, click the view selector (it reads Default view until you pick something else) and choose Create custom view.
-
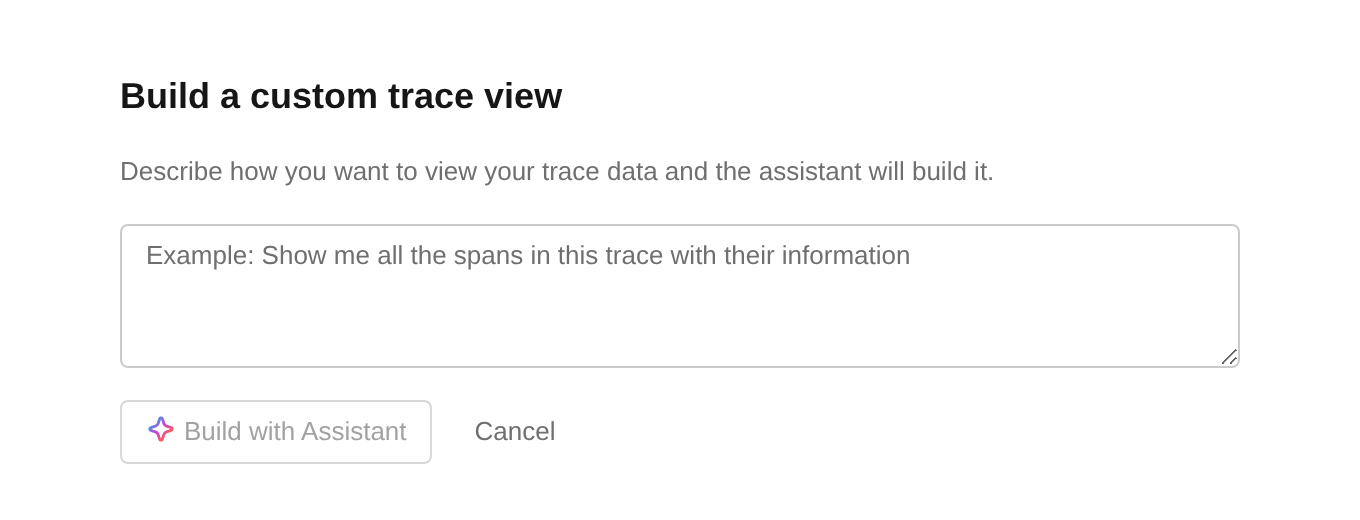
Describe the view you want, for example "Show the user's question, the final answer, and the output of each tool call", then click Build with Assistant.
-
The Assistant panel opens with your request, and the trace viewer shows a placeholder until the Assistant returns the view. The view opens as a draft: click Save and give it a name to keep it.
A view is a reusable layout, not a snapshot of one trace, so it works on every trace in the experiment. The Assistant designs the layout once. When you open another trace, MLflow fills the same layout with that trace's data, such as the root span's input or the output of the first tool call, without asking the Assistant again.
To show the Assistant what the data looks like, MLflow sends the Assistant the trace you are viewing, including each span's inputs and outputs and the trace's assessments. Span attributes are not included.
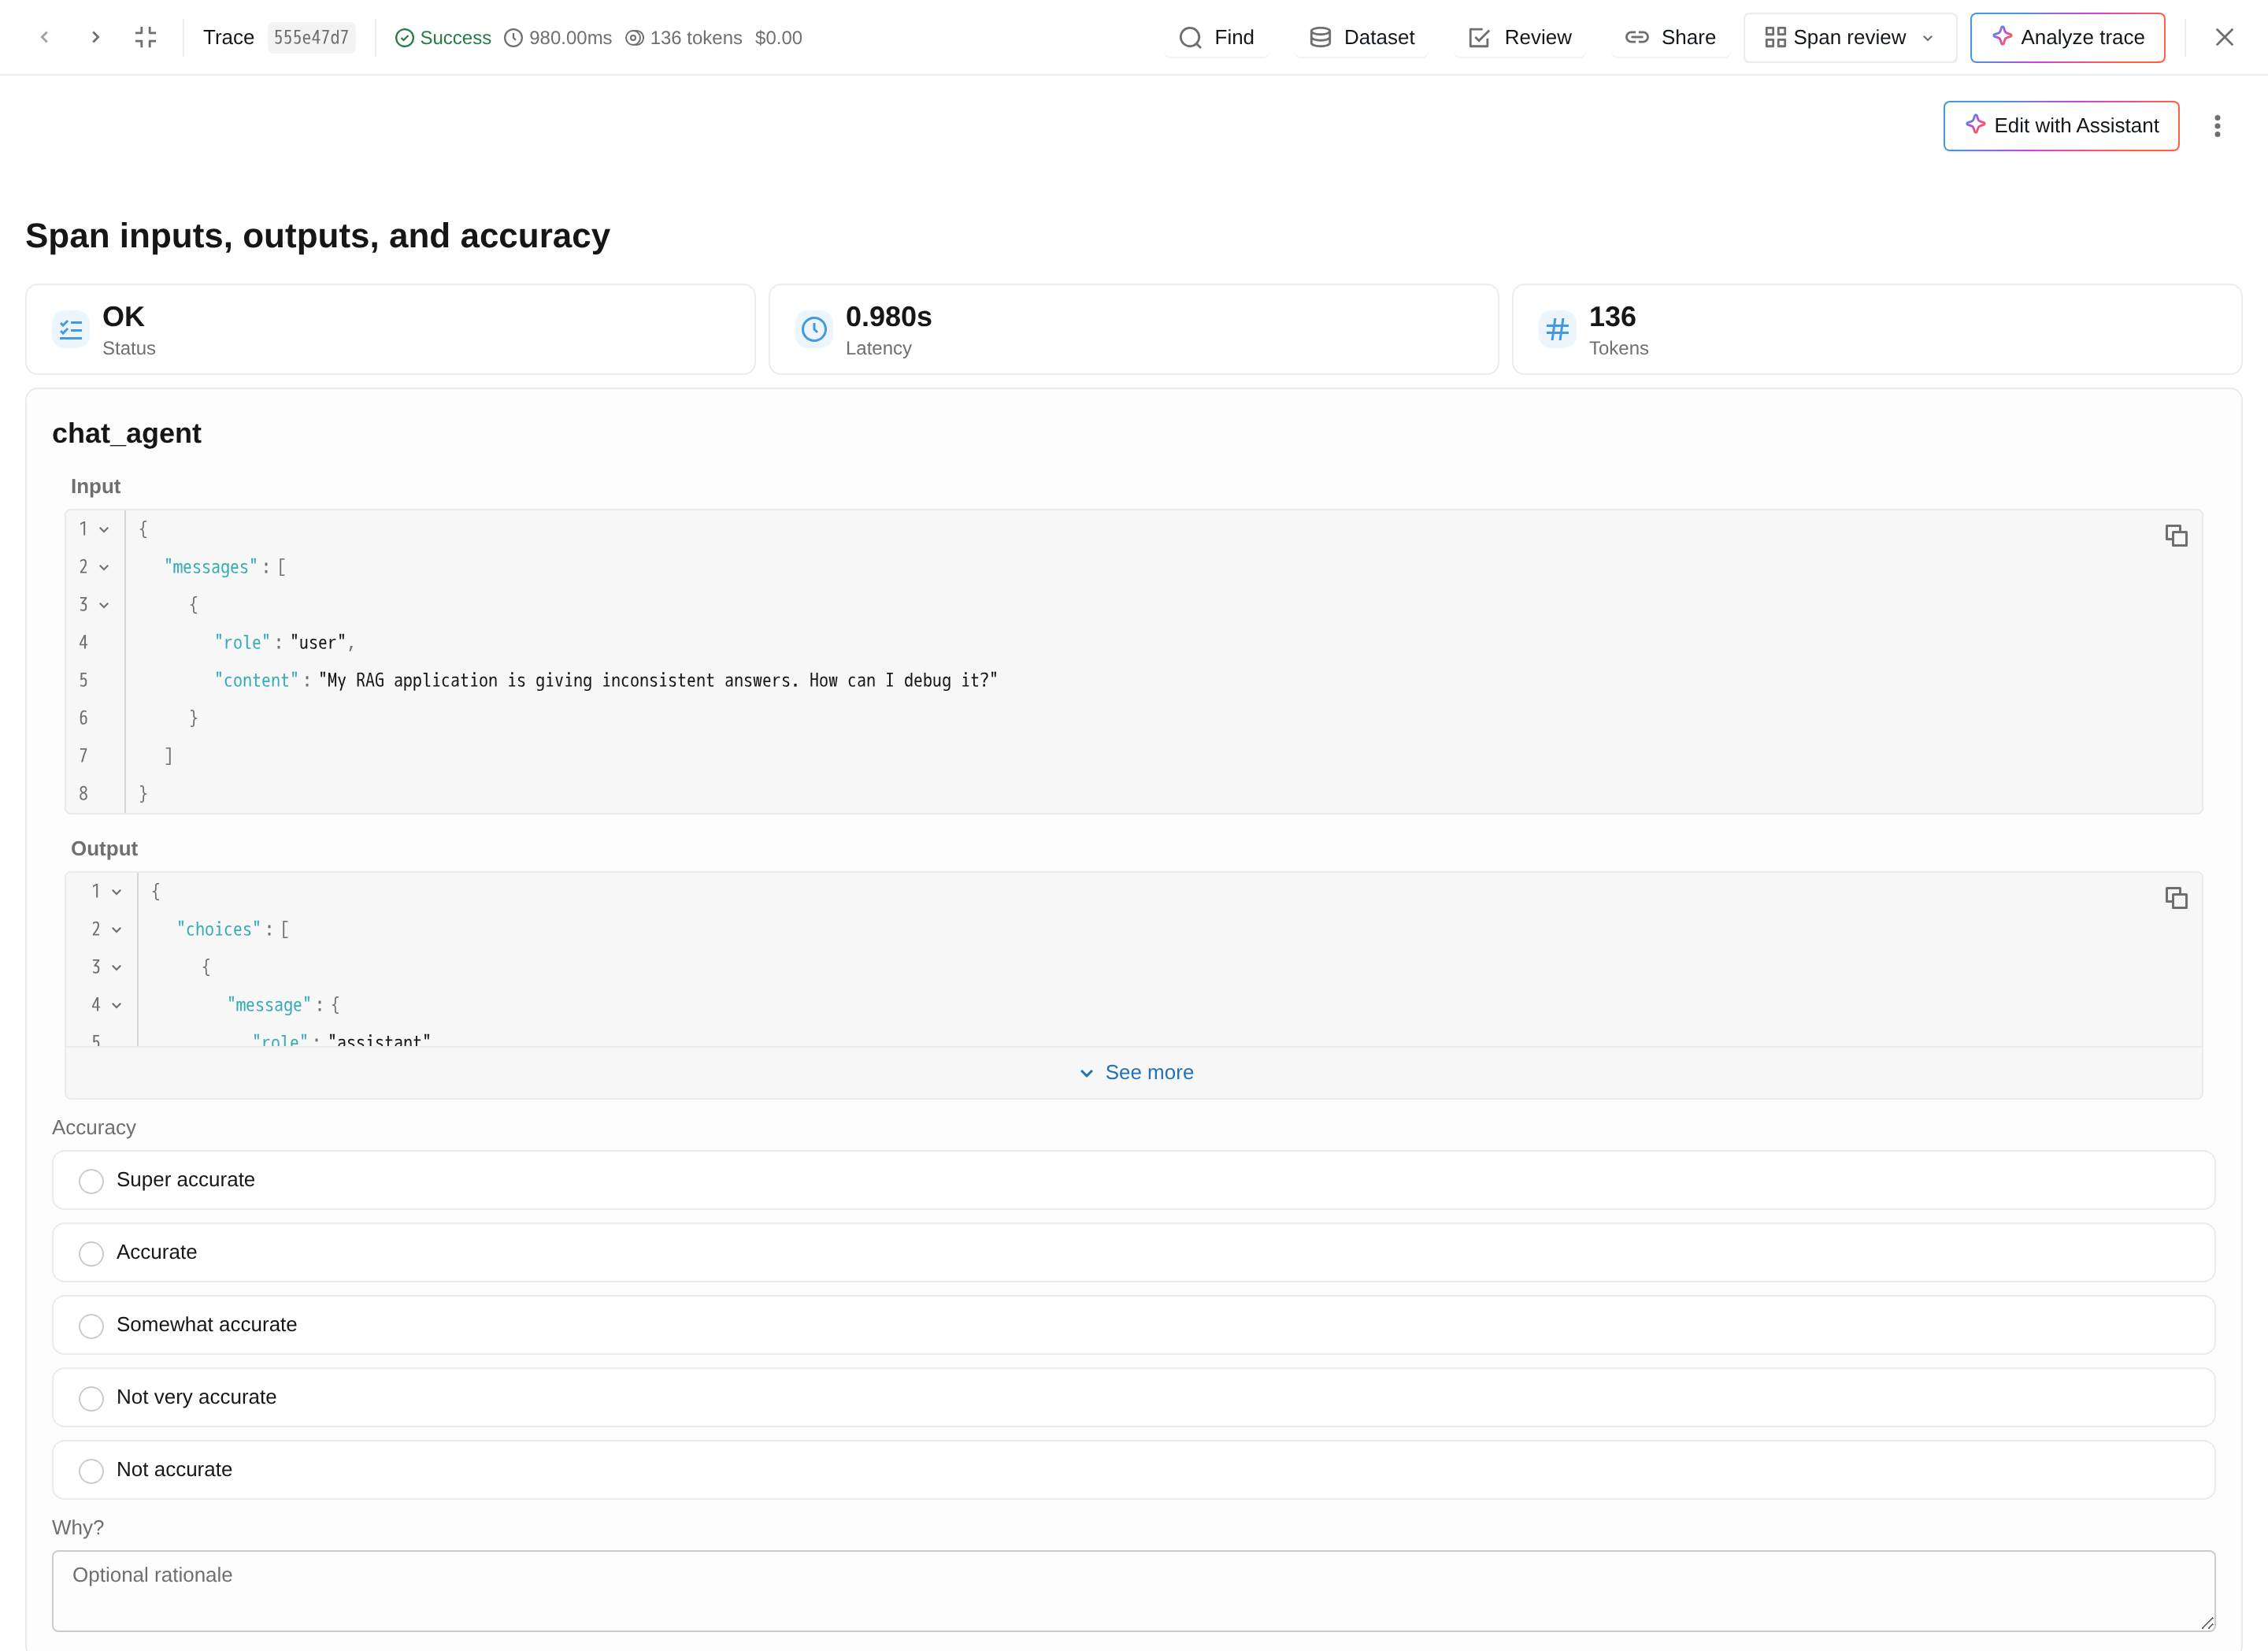
To look at a finished view before building one, run mlflow demo. The demo experiment comes with a saved view named Span review that shows each span's input and output and collects an accuracy rating per span.
Managing Views
The view selector lists Default view and every saved view in the experiment. Pick one to switch.
To edit a view, select it and click Edit with Assistant, then describe the change in the Assistant panel. The updated view opens as a draft: click Save to keep it.
To rename or delete a view, open the three-dot menu next to the Edit with Assistant button and choose Rename view or Delete view. Deleting a view removes it for everyone who uses the experiment.
What a View Can Show
A view is assembled from a fixed set of components, and the data inside them comes from the trace being viewed: its status, latency, token count, and assessments, plus the inputs, outputs, attributes, name, or ID of individual spans.
The components a view can use are:
| Component | Description |
|---|---|
Text | A short line of text, such as a heading or a caption. |
Markdown | A block of Markdown text with an optional title. |
TraceImage | One image attachment from the trace, such as an image in a span's input or output. |
Row | A horizontal layout of its children. |
Column | A vertical stack of its children. |
Card | A bordered box around a single child, usually a Column. |
Icon | A single icon referenced by name. |
StatCard | A metric tile with a value, a caption, and an icon, like the cards on the experiment overview page. |
KeyValueViewer | One labeled value with a text / JSON / Markdown format toggle, typically a span's input or output. |
AssessmentCard | One assessment: its name, value, rationale, and source. |
AssessmentBoard | A titled, wrapping row of AssessmentCard components, one per assessment on the trace. |
FeedbackThumbsUpDownButtons | Thumbs up and thumbs down buttons that log a boolean feedback assessment as soon as one is clicked. |
RadioGroup | A single-choice rating, logged when the form's FeedbackSubmit button is clicked. |
FeedbackInputText | A free-text box whose content becomes either a standalone feedback value or the rationale of a RadioGroup with the same name. |
FeedbackSubmit | A button that logs every RadioGroup and FeedbackInputText in its form. |
Collecting Feedback from a View
Feedback controls in a view log ordinary feedback assessments on the trace, the same kind that mlflow.log_feedback() creates, with HUMAN as the source type. The view itself does not store feedback.
- Thumbs up and thumbs down log
trueorfalseimmediately, under the assessment name set in the view (the default isUser feedback). - Ratings and text boxes are staged until you click the form's submit button, which logs one assessment per rating or standalone text box. A text box that shares a rating's name is saved as that rating's rationale instead.
- The Assistant can scope a control to a span, so a per-tool-call rating is logged against that span rather than the whole trace.
Submitted feedback appears in two places:
- In the trace table, under Assessments. You can filter traces by it like any other assessment.
- In the trace's Assessments pane, when you switch back to Default view. Feedback scoped to a span shows up when that span is selected.
The Assistant adds feedback controls only when you ask for them, so include them in your request, for example "and add an accuracy rating from 1 to 5 with an optional comment".
Where Views Are Stored
Saved views are stored as experiment tags (their keys start with mlflow.customView.), which is why they are shared by everyone who uses the experiment and appear among the experiment's tags in the API.
An experiment can hold up to 50 custom views. Once it reaches that number, Create custom view disappears from the view selector until you delete a view, while existing views can still be edited and renamed.
Troubleshooting
The view never finishes building
With MLflow AI Gateway and Ollama, the Assistant delivers the layout through a tool call, so the model has to support tool calling. If the model answers in chat instead, no view is created: the trace viewer keeps showing Building this view… until you reload the page, and the reply appears only in the Assistant panel. Switch to a model that supports tool calling and try again. Claude Code and Codex do not have this requirement.