MLflow Tracking Quickstart
Looking for using MLflow for LLMs/Agent development? Checkout the MLflow for GenAI documentation instead. This guide is intended for data scientists who train traditional machine learning models, such as decision trees.
Need help setting up tracking? Try MLflow Assistant - a powerful AI assistant that can help you set up MLflow tracking for your project.
Welcome to MLflow! The purpose of this quickstart is to provide a quick guide to the most essential core APIs of MLflow Tracking. In just a few minutes of following along with this quickstart, you will learn:
- How to log parameters, metrics, and a model using the MLflow logging API
- How to navigate to a model in the MLflow UI
- How to load a logged model for inference
Step 1 - Set up MLflow
MLflow is available on PyPI. If you don't already have it installed on your system, you can install it with:
pip install mlflow
Then, follow the instructions in the Set Up MLflow guide to set up MLflow.
If you just want to start super quick, run the following code in a notebook cell:
import mlflow

mlflow.set_experiment("MLflow Quickstart")
Step 2 - Prepare training data
Before training our first model, let's prepare the training data and model hyperparameters.
import pandas as pd
from sklearn import datasets
from sklearn.model_selection import train_test_split
from sklearn.linear_model import LogisticRegression
from sklearn.metrics import accuracy_score, precision_score, recall_score, f1_score

# Load the Iris dataset
X, y = datasets.load_iris(return_X_y=True)

# Split the data into training and test sets
X_train, X_test, y_train, y_test = train_test_split(X, y, test_size=0.2, random_state=42)

# Define the model hyperparameters
params = {
    "solver": "lbfgs",
    "max_iter": 1000,
    "random_state": 8888,
}
Step 3 - Train a model with MLflow Autologging
In this step, we train the model on the training data loaded in the previous step, and log the model and its metadata to MLflow. The easiest way to do this is to using MLflow's Autologging feature.
import mlflow

# Enable autologging for scikit-learn
mlflow.sklearn.autolog()

# Just train the model normally
lr = LogisticRegression(**params)
lr.fit(X_train, y_train)
With just one line of additional code mlflow.sklearn.autolog(), now you get the best of both worlds: you can focus on training the model, and MLflow will take care of the rest:
- Saving the trained model.
- Recording the model's performance metrics during training, such as accuracy, precision, AUC curve.
- Logging hyperparameter values used to train the model.
- Track metadata such as input data format, user, timestamp, etc.
To learn more about autologging and supported libraries, see the Autologging documentation.
Step 4 - View the Run in the MLflow UI
To see the results of training, you can access the MLflow UI by navigating to the URL of the Tracking Server. If you have not started one, open a new terminal and run the following command at the root of the MLflow project and access the UI at http://localhost:5000 (or the port number you specified).
mlflow server --port 5000
When opening the site, you will see a screen similar to the following:
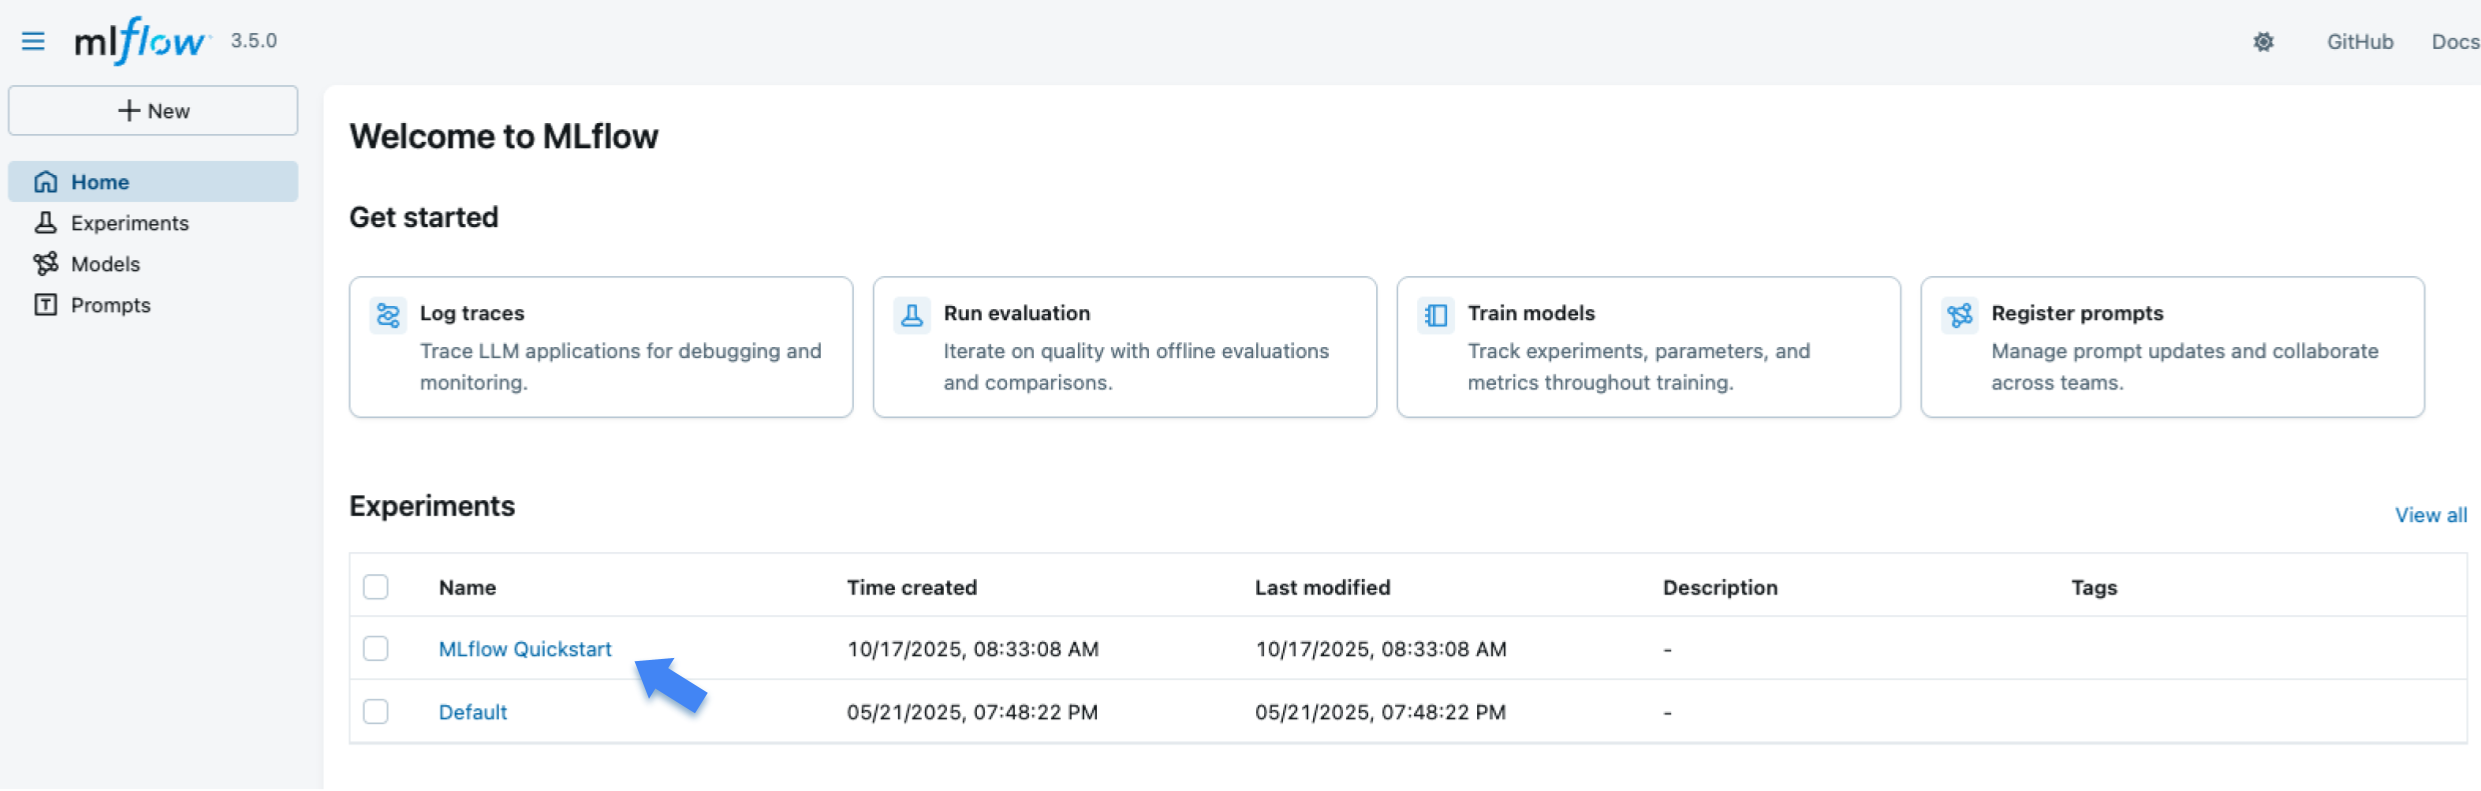
The "Experiments" section shows a list of (recently created) experiments. Click on the "MLflow Quickstart" experiment.
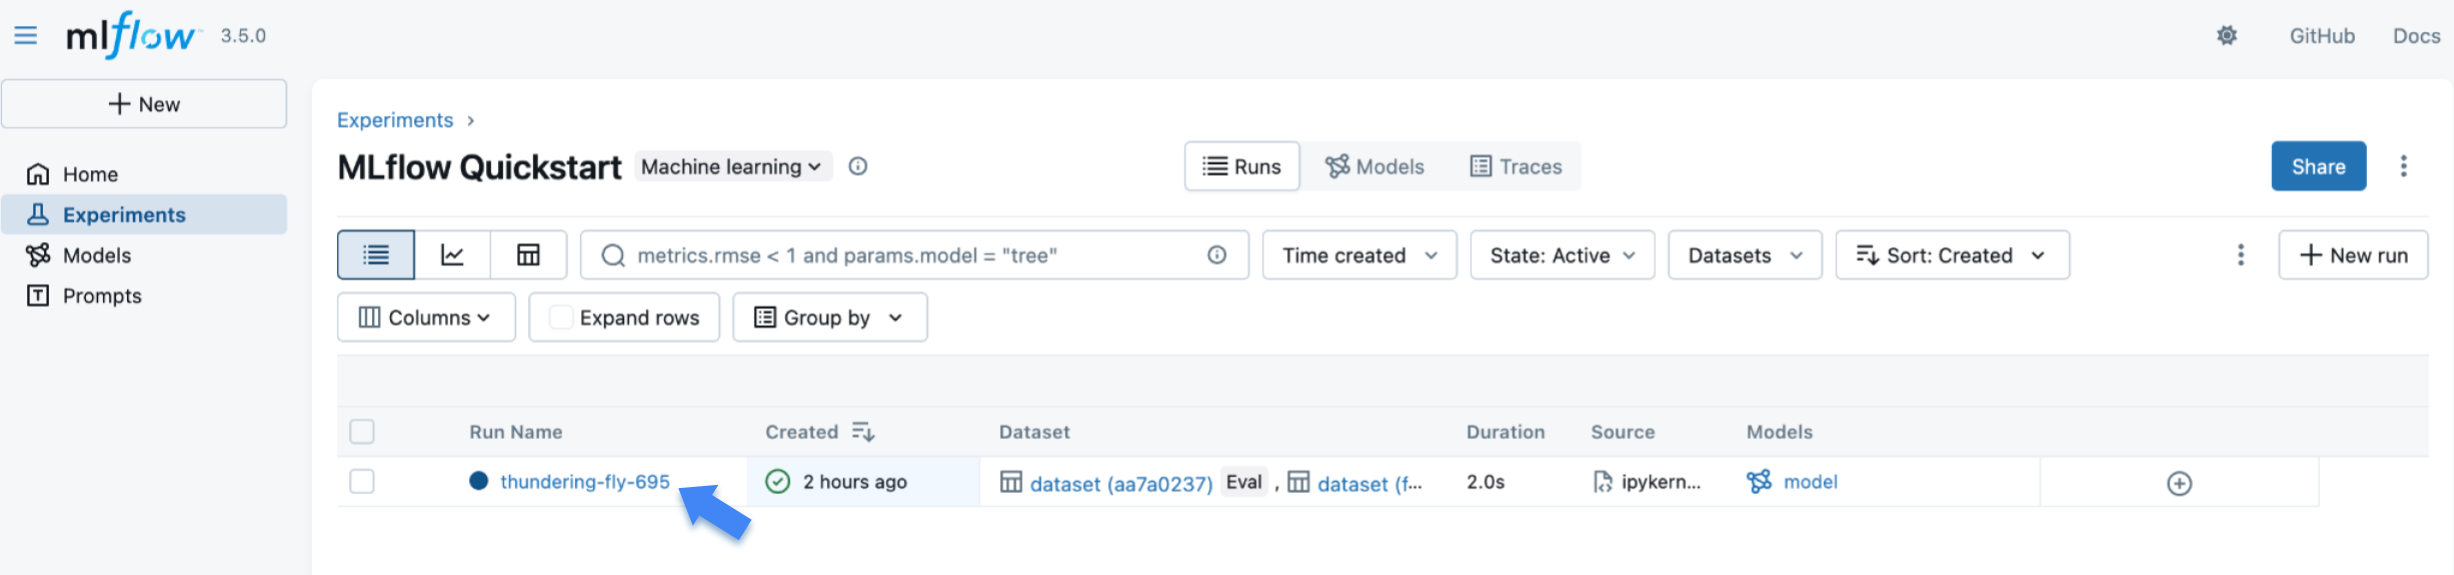
The training Run created by MLflow is listed in the table. Click the run to view the details.
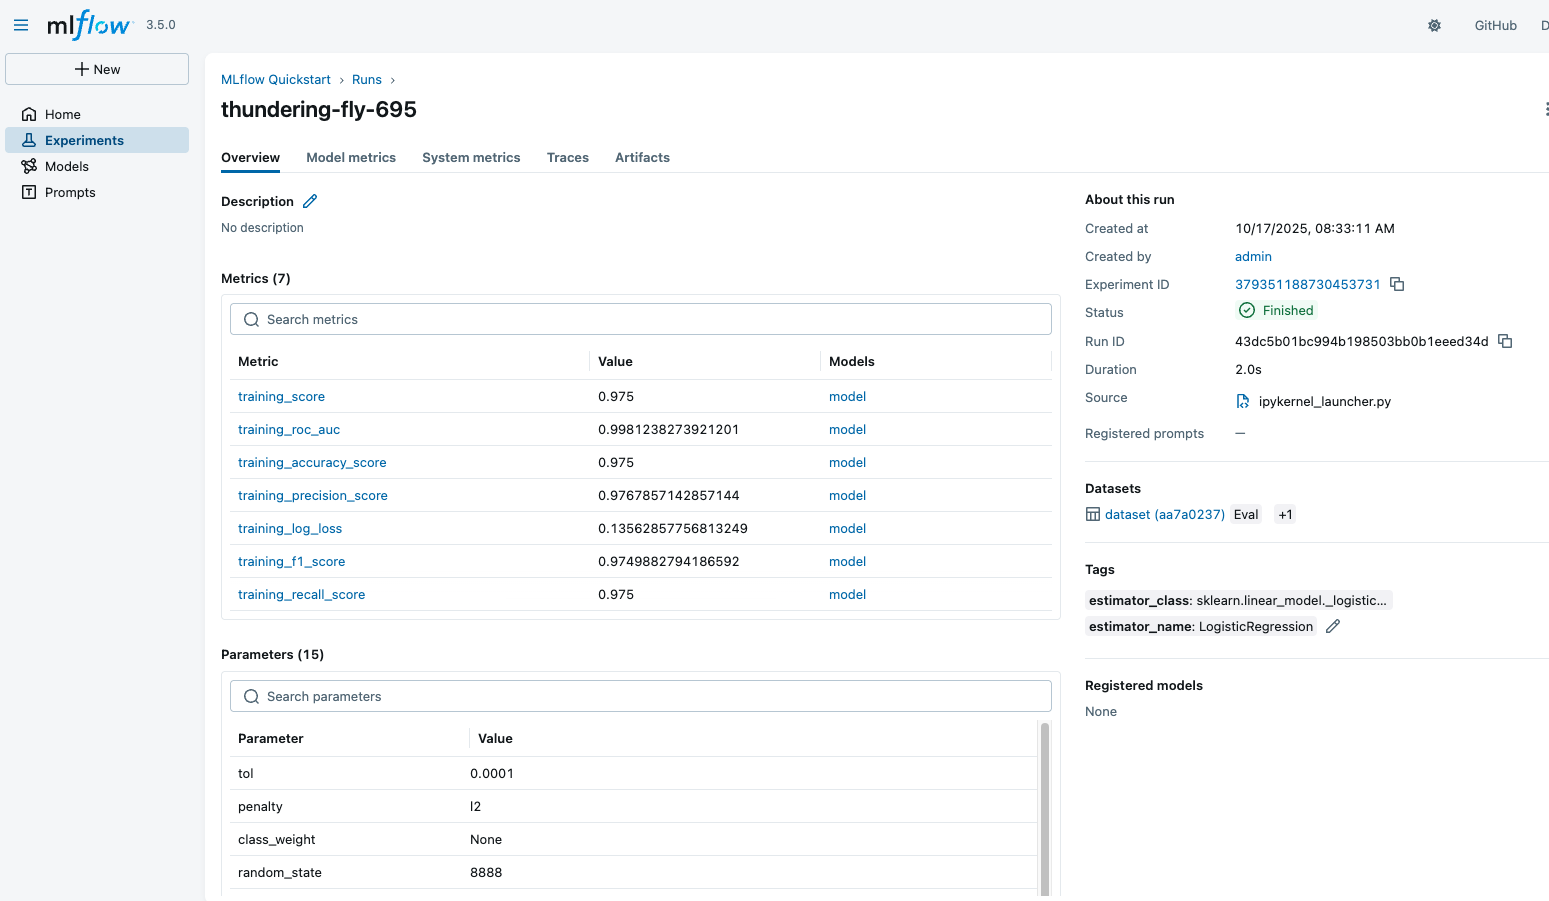
The Run detail page shows an overview of the run, its recorded metrics, hyper-parameters, tags, and more. Play around with the UI to see the different views and features.
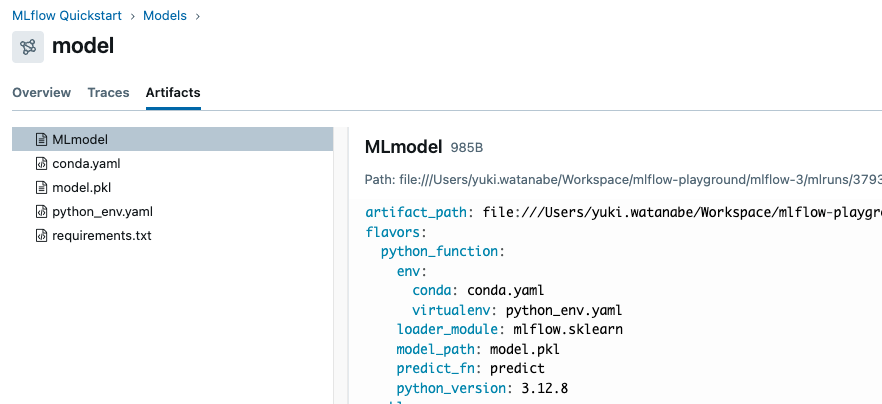
Scroll down to the "Model" section and you should see the model that was logged during training. Click on the model to view the details.
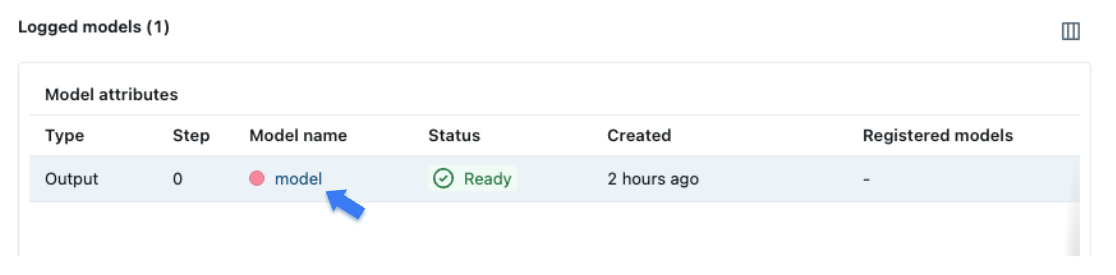
The model page displays similar metadata such as performance metrics and hyper-parameters. It also includes an "Artifacts" section that lists the files that were logged during training. You can also see environment information such as the Python version and dependencies, which are stored for reproducibility.
Step 5 - Log a model and metadata manually
Now that we have learned how to log a model training run with MLflow autologging, let's step further and learn how to log a model and metadata manually. This is useful when you want to have more control over the logging process.
The steps that we will take are:
- Initiate an MLflow run context to start a new run that we will log the model and metadata to.
- Train and test the model.
- Log model parameters and performance metrics.
- Tag the run for easy retrieval.
# Start an MLflow run
with mlflow.start_run():
    # Log the hyperparameters
    mlflow.log_params(params)

    # Train the model
    lr = LogisticRegression(**params)
    lr.fit(X_train, y_train)

    # Log the model
    model_info = mlflow.sklearn.log_model(sk_model=lr, name="iris_model")

    # Predict on the test set, compute and log the loss metric
    y_pred = lr.predict(X_test)
    accuracy = accuracy_score(y_test, y_pred)
    mlflow.log_metric("accuracy", accuracy)

    # Optional: Set a tag that we can use to remind ourselves what this run was for
    mlflow.set_tag("Training Info", "Basic LR model for iris data")
Step 6 - Load the model back for inference.
After logging the model, we can perform inference by:
- Loading the model using MLflow's
pyfuncflavor. - Running Predict on new data using the loaded model.
To load the model as a native scikit-learn model, use mlflow.sklearn.load_model(model_info.model_uri) instead of the pyfunc flavor.
# Load the model back for predictions as a generic Python Function model
loaded_model = mlflow.pyfunc.load_model(model_info.model_uri)

predictions = loaded_model.predict(X_test)

iris_feature_names = datasets.load_iris().feature_names

result = pd.DataFrame(X_test, columns=iris_feature_names)
result["actual_class"] = y_test
result["predicted_class"] = predictions

result[:4]
The output of this code will look something like this:
| sepal length (cm) | sepal width (cm) | petal length (cm) | petal width (cm) | actual_class | predicted_class |
|---|---|---|---|---|---|
| 6.1 | 2.8 | 4.7 | 1.2 | 1 | 1 |
| 5.7 | 3.8 | 1.7 | 0.3 | 0 | 0 |
| 7.7 | 2.6 | 6.9 | 2.3 | 2 | 2 |
| 6.0 | 2.9 | 4.5 | 1.5 | 1 | 1 |
Next Steps
Congratulations on working through the MLflow Tracking Quickstart! You should now have a basic understanding of how to use the MLflow Tracking APIs to log models.
- MLflow for GenAI: Learn how to use MLflow for GenAI/LLM development.
- MLflow for Deep Learning: Learn how to use MLflow for deep learning frameworks such as PyTorch, TensorFlow, etc.
- MLflow Tracking: Learn more about the MLflow Tracking APIs.
- Self-hosting Guide: Learn how to self-host the MLflow Tracking Server and set it up for team collaboration.